My shining star

My shining star

Friday, 7 February 2014

A weekend with Hels part 2

Good morning Lovelies - I hope you're not too bored with hearing about my weekend - I don't get out much - so here is part two of my adventure!


I'm really pleased with the colours on this one but I wish I'd had a bit more time to work on the layout. Here's the step by step for what I did:


We started off with a blank A4 piece of card. We drew lines at 2 and 1/2, 5 and 71/2 inches then horizontally at 3 and 1/2, 7 and 10 and 1/2 inches. These are ATC sizes, We cut off the spare then numbered on the back, 3,2,1 then 6,5,4 then 9,8,7.  After that we stuck on diecuts and used stencils with texture paste.


The next stage was to cover with cream acrylic paint allow to dry then add misting inks from cosmic shimmer. Hels did suggest not making the background too shiny - it was supposed to be a background - but I'm afraid I went for the bling!!! Lol!!!! 


Next was the stage where we emphasised the relief using the magic pencil. At this stage i was really unhappy - I thought the emphasis was too much. Then came time to cut into 9 pieces.


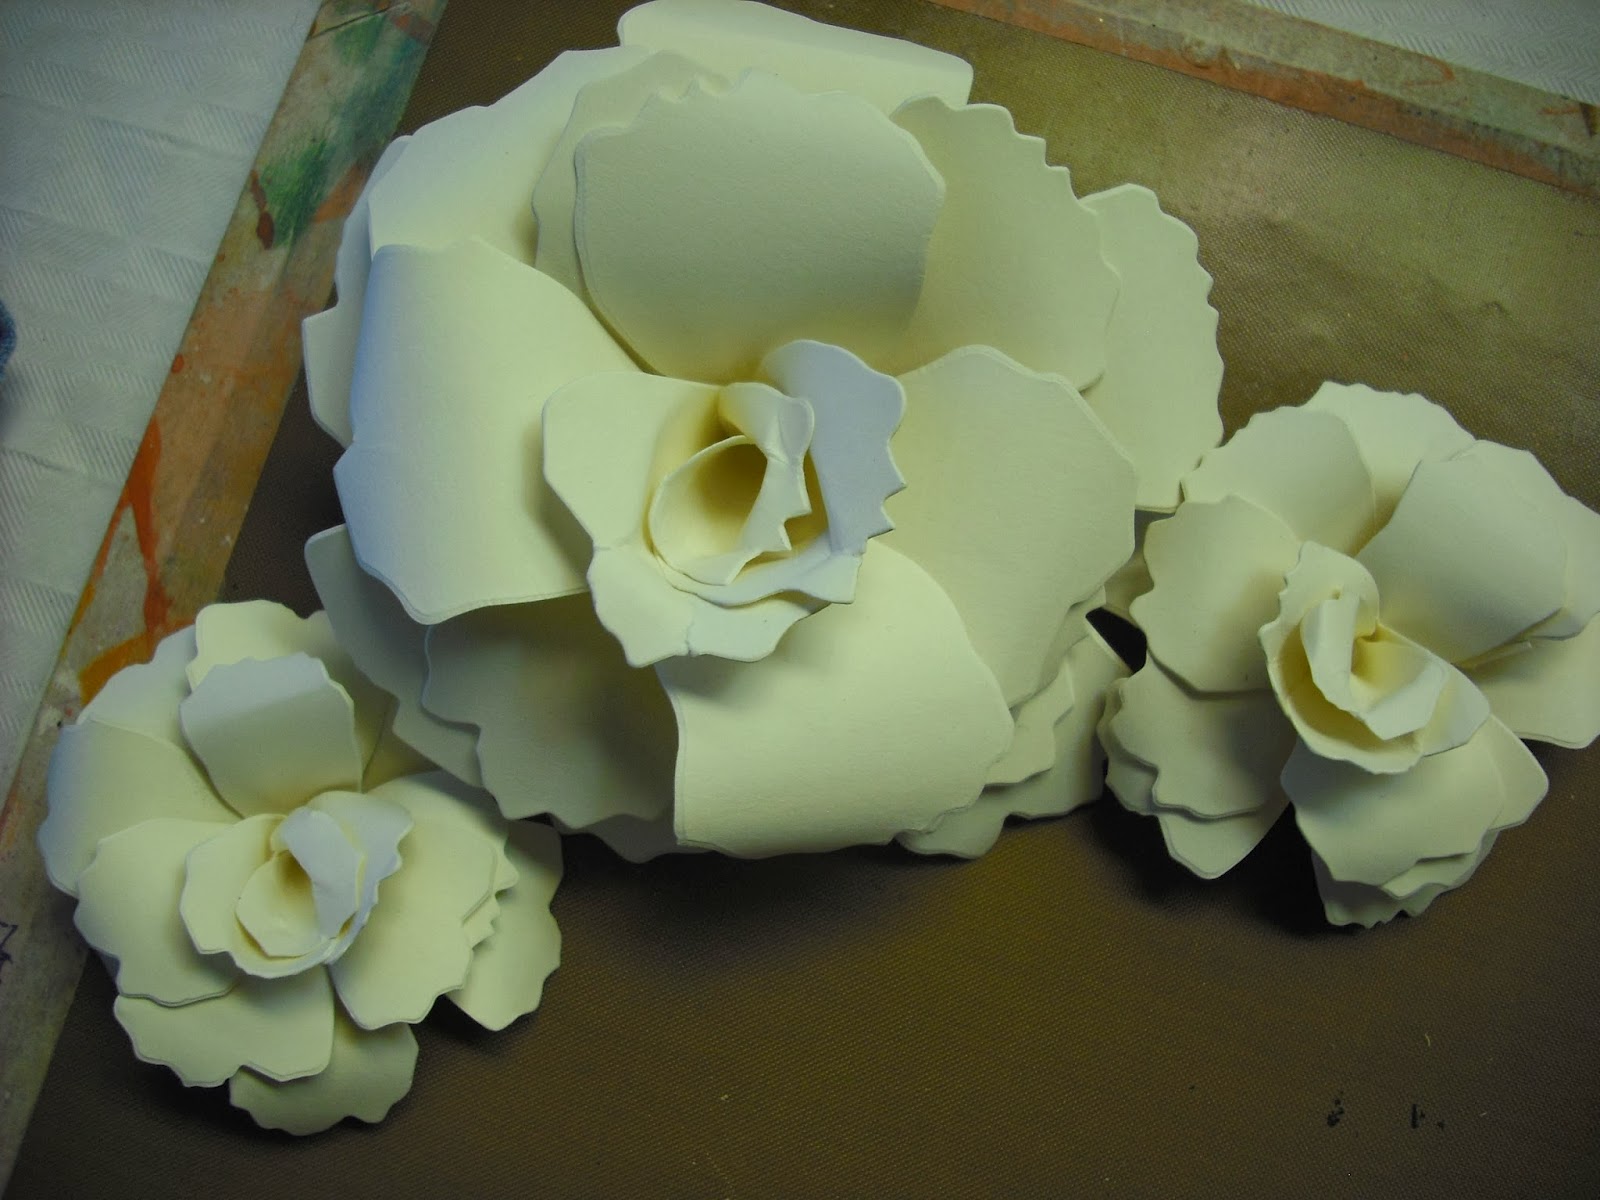
We're getting there - the 9 pieces were then mounted onto black mountboard. Next it was a case of spraying the flowers - we made the larger ones  by adding white wired paper roses to an increasing size of flat flowers, bending the wire then running it around a pokey tool to make a spiral,


Finally the sentiment was stamped and cut and edged with the magic pencil. The other embellies were coloured with treasure gold and then everything was placed and stuck on - here;s a reminder of the final piece:


I hope you've enjoyed seeing how I made this - thankyou so much to Hels for such a great design to use and for such a wonderful workshop and to Sue Tucker for making everything happen and run so smoothly. Thanks also go to Rae for your company both in the workshop and during travel and also to Anne and Mo for letting me know about the workshop and also for your fabulous company! Thanks also finally to all the other lovely ladies on the workshop - it truely was a wonderful weekend!

Big Hugs!

Rachel xx


Thursday, 6 February 2014

A weekend with Hels part 1

Hi there lovelies! I do hope you're okay - I'm feeling good and ready to face the supermarket - its shopping day today and off to the dreaded shops we must go! Wish me luck!

Before you disappear though please look at my fabby make from Hels workshop up in Middlesborough last weekend - this is what I made on the Saturday:


The canvas is A4 in size - the flowers are made using the tattered florals dies - the regular and the grandiflora  - it really is a big flower. Here's how we made it :


I started off with a blank canvas and 4 6x6 pieces of TH papers in neutral colours- and a half sheet of TH paper in dark colours. We started by randomly cutting the papers up and sticking them to the canvas. The dark sheet was kept until last. After having done this I swiped the whole surface with cream acrylic paint then dried and applied glue and seal in a layer and allowed to dry.


Next was the time to add embossing paste through stencils followed by using the magic pencil to highlight the edges of the the paper blocks. 


After that I did some random stamping using black archival ink - then it was time for lunch.
In the afternoon we started to make the flowers - we had 6 of the large flowers from the tattered florals and 4 of the large flowers from the grande tattered florals. We used a technique for the 6 petaled flower that is highlighted on Hels blog - here.

After that is was a case of colouring the flowers which was done by spraying them first with black dylusions then adding chosen colour of cosmic shimmer mist sprays. I used something like firefly (?) and also antique gold.  Then we sprayed lightly across the canvas then set about colouring in all the other goodies using distress inks, treasure gold and more sprays. Then assembling all the bits and bobs onto the canvas.


Here we all are with our pieces:


I hope you enjoyed seeing what we made and how we made it - I'll do Sundays make tomorrow! I'm not entering any challenges with this piece as its not my original design!

Big Hugs to you! Thanks for visiting and hope to see you again soon! Hugs Rachel xx


Wednesday, 5 February 2014

Anything goes with sketch option at Creative Inspirations

Good morning lovelies - how are you today? I think I'm just about caught up now - you have a weekend away and everything goes crazy - nevermind. It was worth it.

Today its time for a new challenge to start at creative Inspirations:

This week's challenge is Anything Goes + Option of a Sketch!
(You may choose between the new Sketch or one of the old ones. Just state which you have used)

Sketch No.7

You can find a link to the page of our old Sketches in the sidebar or simply by clicking below:
OLD SKETCHES

This week's prize is from BUGABOO STAMPS and is 7 DIGITAL IMAGES OF THE WINNER'S CHOICE!


I chose to use sketch 6
 and I've been trying another sheena folder - a very similar technique to mondays post - what do you think?


So I used distress inks to create the background -( bundled sage, shabby shutters, pine needles, mowed lawn and forest moss)  The ran the card through the A4 embossing folder in my grand calibur then cut to 7and 1/2 inches square. This piece was then buffed over with a relatively dry black staz-on pad. I mounted this on black card then onto an 8x8 card. The central portion was more white card coloured with bundled sage then stamped using black archival - the stamp is a claritystamp. I cut some leaves out the remaining piece and sprayed with spray and sparkle - then added the webbing from That Craft Place and added the topper and leaves.

I'd like to enter this card into the following challenges:

Artistic stampertheartisticstampercreativeteam - use distress
PCJpaper-craftingjourney: Emboss it

Thanks for dropping by today - I have to get ready for rainbows tonight - we're making 'noisy shakers' tonight which should be lots of fun!!!!!! Might try doing some music with them too!!! 

Big hugs

Rachel xx


Tuesday, 4 February 2014

Love is in the air at Crafty Sentiments

Good morning to you all! I hope you are fine and well today? I'm still catching up after the weekend - things are just too hectic! Never mind - I do like to be busy!

There's a new challenge starting today at Crafty Sentiments and this week the theme is Love is in the air -here's this weeks prize up for grabs ...

Prize
love word art set
What a great prize for this weeks challenge, and for a better chance to win this fabby prize, were givin you up to 6 chances to win...All you need to do is if us CS image put #3 after your name, If a follower of our Inspirational blog put #3 or if you've done both then #6..So yes up to 6 chances..Good luck everyone

Here's what I made - using the stamp -Two-Hearts


The stamp has been coloured using spectrum noirs and the image diecut using a spellbinders die then mounted on red card. Two LOTV papers were used in the background and the flowers and leaves added.

I'd like to enter this for the following challenges:

Lothian Craftslothiancrafts - Love - use your dies
Fantasy stampers challengefantasystampers - Love and cherish
sweet stampin'sweetstampinchallengeblog - love/valentines
allsorts CB:allsortschallenge love is in the air
AGOACpinkgemchallengeblog: All you need is love
Crafty Catzcraftycatzweeklychallenge - AG
CRAFTtrimmiescraftchallenge: love/valentines
aud sentimentsaudsentimentschallengeblog. - sharing the love.

Thanks for dropping by today - I'm hoping to be all caught up by tomorrow but we'll see!

Big Hugs to you and hope to see you again soon!

Rachel x


Monday, 3 February 2014

more playtime with sheenas new folders

Good morning all - hope you are doing good! I'm back from my exciting weekend - more of that later!

On Thursday night I managed a little more playtime with my new embossing folders - and this is the result. Hope you've got your sunglasses at hand - lol!


The left hand side was made using an embossing folder - first I created the background using distress inks - scattered straw, spiced marmalade, festive berries and seedless preserves. Then I embossed and cut to size - then added staz-on lightly over the embossed area to create the black. The side panel was made using the same colours of distress ink then I stamped a swirl from a sheena stamp set on it. I did the same inks on another piece of card and stamped the sheena butterflies and fussy cut them and added them to the card. The sentiment was also from the same set and I stamped that and cut with a spellbinders die then used spiced marmalade and festive berries around the edges. 

I'll add challenges soon!

Onto the weekend - well it was absolutely amazing and I made the following two pieces of art:


I will blog the details of these later in the week - but I wanted to give you a sneak peek of what I made.  I've got two piccies too of lovely crafty people:


This is me and Mo Stokes and Anne Redfern. We've got our pinnies on but no mucky paws as yet!


This is me and Rae - I gave Rae a lift up to the venue and sat next to her at the workshop! On the other side of me was a lovely lady called Diane who doesn't have a blog as yet - but I'm sure she will soon. On the course aswell were 13 other ladies that it was lovely to meet and spend crafty time with including Crafty Individuals Jean Hardy and Craft Stampers Katy Fox. My thanks got to Sue Tucker for making the workshop run so smoothly and providing all the amazing refreshments and or course to Hels Sheridan for coming up with the artistic genius of the projects in the first place! 

Big Hugs to you all - thanks for dropping by today and I hope to see you again soon!

Hugs

Rachel xx


Sunday, 2 February 2014

Your favourite technique at Craft a scene

Hello there! Its late for me today - and this is a scheduled post too - I'm still off at Hel's workshop - I'll hopefully let you know tomorrow how it went!!!

Today there is a new challenge starting at Craft a scene and this month we'd like you to use your favourite technique to create a scene. My technique of the moment is using acetate overlays - I love them to bits - so thats what I have done today!


The background is created using primary elements and I used the ombre technique from Craft stamper magazine to influence my colour choice. The stamps are from sheena douglass and I stamped in versa onto heat resistant acetate - then added black opaque wow powders and heat set. 

I'd like to enter this into the following challenges: 
Craft stamper make and take 6
PCJ: Emboss it

Thanks for dropping by today and I hope to see you again soon!

Rachel x

Saturday, 1 February 2014

Love is in the air at Imagination Crafts

Good morning all you lovelies in blogland! I do hope you are well and happy. If all is working as it should when this scheduled post goes like I will be at the Premier Inn having breakfast and getting excited about my day ahead with Hels and lots of other ladies at a workshop! Not long to wait now!

Todays post then is all about Imagination Crafts - we have a new challenge starting today and some new design team members too - make sure you check out the full challenge post here..The theme for february is of course love - here's my first make:


To make my card I have used the following Imagination crafts Products - just click the link it will take you straight to the items in the shop:

To make my card I first painted a chipboard heart with red silkies then left it to dry - then added the sparkle medium through the stencil onto the black card. I stamped the bird of paradise stamp onto balck card using flitterglu then added flakes and fussy cut. I stamped the sentiment in versamark and added brass regular wow powders and heat set. Then I stamped the flowers onto the heart in black staz on and assembled the card adding the ribbon and the red mesh.

I hope you'll try to join our challenge this month - and remember if you use Imagination Crafts Products you'll be in with a chance of winning £40 to spend in store.

Fantasy stampers challengefantasystampers - Love and cherish
sweet stampin'sweetstampinchallengeblog - love/valentines
allsorts CB:allsortschallenge love is in the air
AGOACpinkgemchallengeblog: All you need is love
Crafty Catzcraftycatzweeklychallenge - AG
CRAFTtrimmiescraftchallenge: love/valentines
aud sentimentsaudsentimentschallengeblog. - sharing the love.

Big Hugs to you - have a great weekend!

Rachel xx