My shining star

My shining star
Showing posts with label Countryview Crafts.. Show all posts

Tuesday, 1 October 2019

Bokeh technique at Countryview Crafts

Good Morning! How are you? Bright and early on this new month and there is a brand new challenge over at Countryview. Sue wants you to make something using the Bokeh technique - its like a soft focus technique used in photography that has been adopted by papercrafters. Sue explains more here.

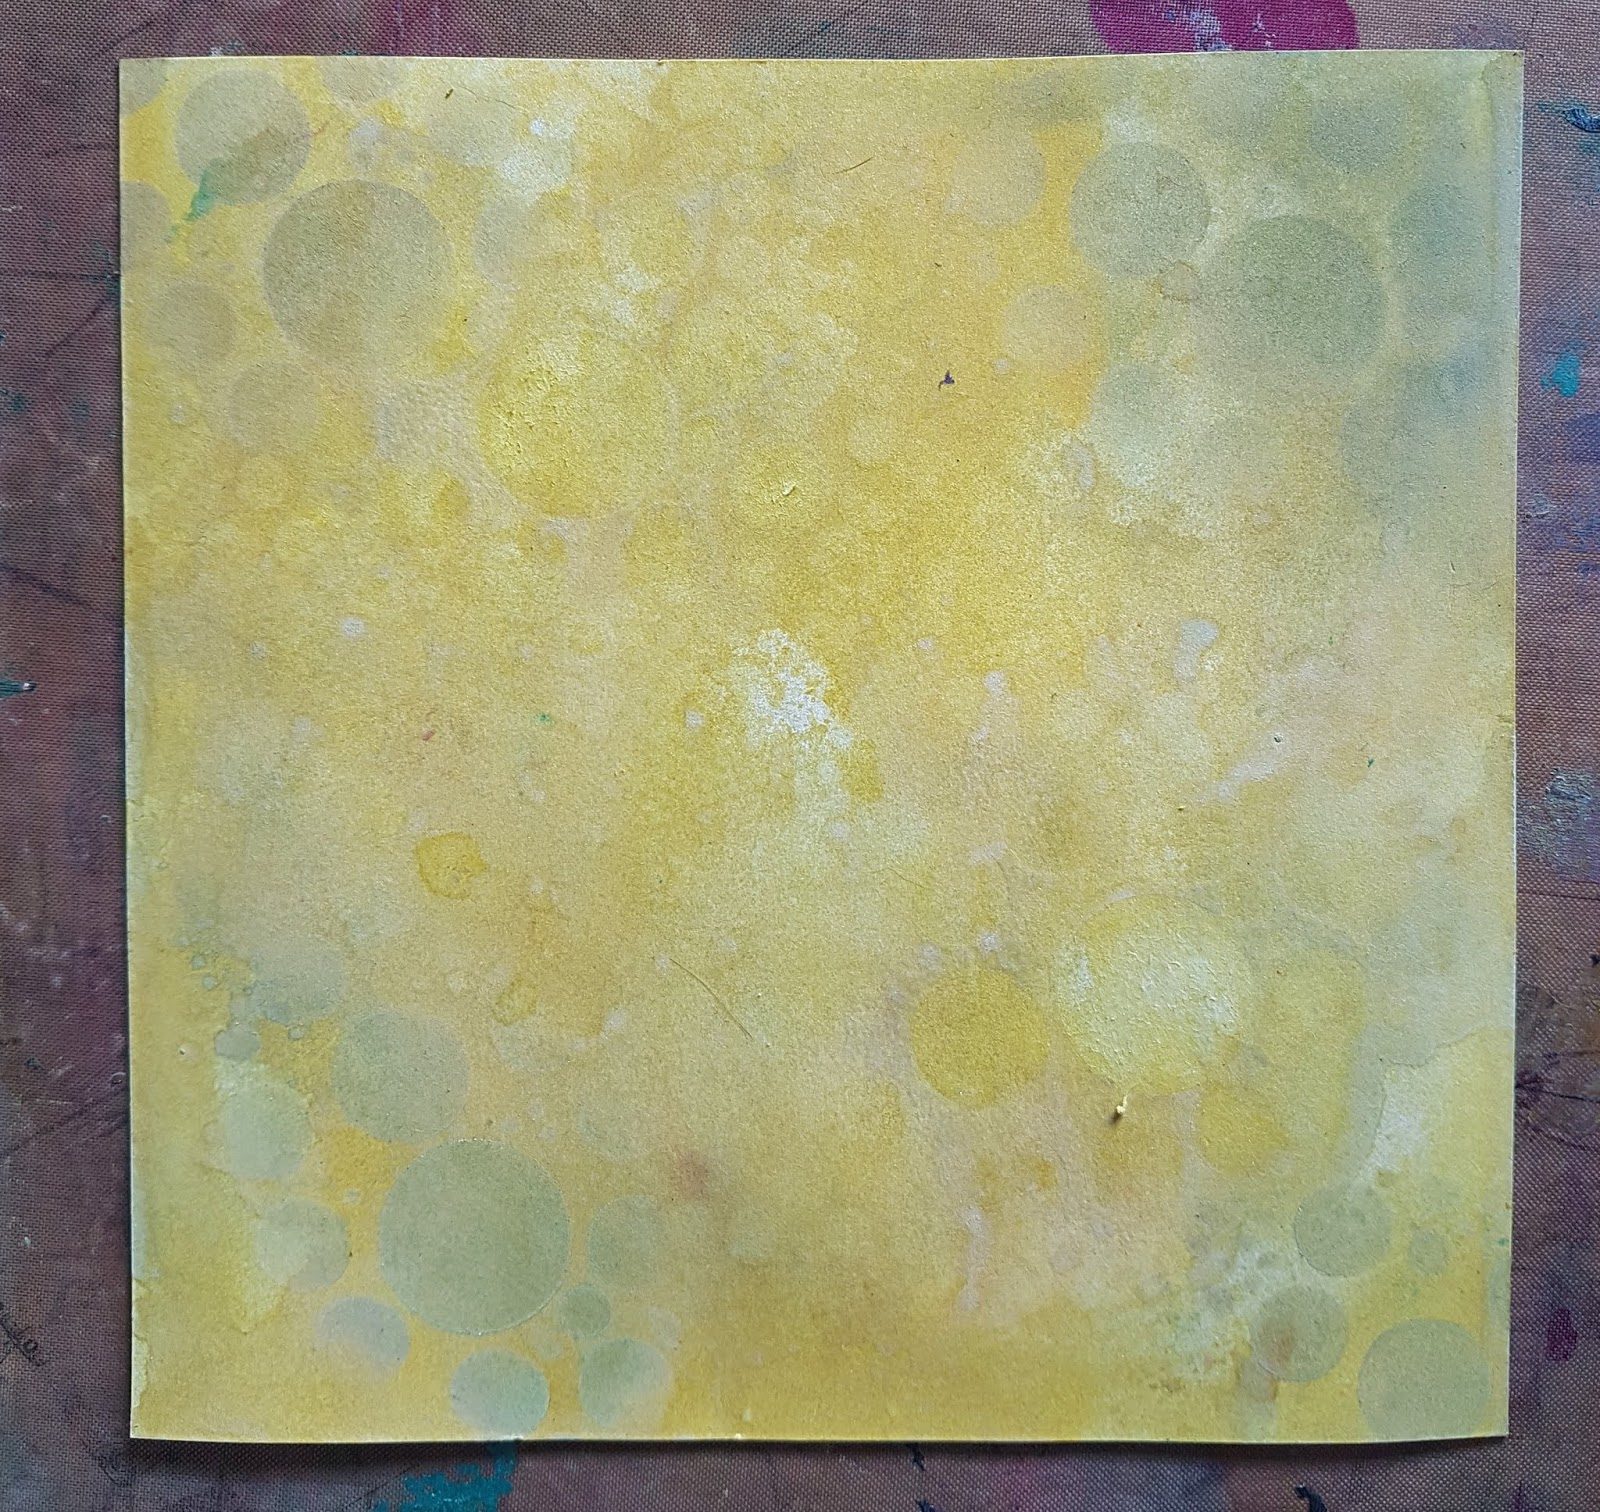
I decided to make a background in distress medium and faux bleach out some circles using a stencil and water. I think its not the best thing I ever did but its okay.


Here's the completed background and I used a pink ink stamp.


Maybe not the best choice of colours for a bee background but defo a fab stamp!


Here's the finished item - cute - not the best bokeh - I will be better for the next one!

You can check out some much better examples and link up here:

Big hugs

Rachel xx

Sunday, 1 September 2019

Under the Sea at Country view crafts

Hello there! How are you? Its the first of September - wow - scary - especially since I'll be back to work tomorrow! Yikes! How fast did July and August go?  Good thing though is that we have a new challenge at Countryview Crafts and this month its my theme and I have chosen 'Under the Sea' ...every time I say that I start singing the Disney song! Anyway - I would like to see your underwater themed makes. I decided to make a canvas - its A4 in size and I used a new paperartsy-large-stencil and also another stencil plus opaque texture paste.


Next I applied lots of paints with my fingers - oh I love getting messy!!!


Whilst drying I stamped out pink-ink-designs---a5-clear-stamp---sea-turtle on card and coloured it with pencils. Then I added some stamping on the board - I used stamps from the pink ink set but also a few from visible-image-clear-stamp-set---create-your-calm. I added some glitter pen ink to the vegetation and also some of the stamped images.... Here's how it ended up.


I hope I have inspired you to join our challenge! You could win a voucher for £20! You can find more inspiration and link up here.
Big hugs

Rachel xx


Wednesday, 11 May 2016

more stencils at countryview crafts

Good morning lovelies! Well another day has dawned and today its my job to bring you a little inspiration for the challenge over at countryviewchallenges where the theme is to use a stencil. There is the usual challenge plus this month Susan is offering a prize for a blog hop - if you go here you can get all the details of how to enter both.

So today I have a card I have made for a friend from drama, Neil. Its his birthday on Saturday - I think I'm pretty safe posting it here - I know he doesn't look at my blog .... or even know that I have one! Lol!!!


Okay so this is what we're heading for .... and this is how I made it .....


I started by brayering three colours of fresco paint onto a piece of A4 card ...


Once dry I started to add some clocks using a layering-stencil---clockwork from Tim Holtz. I used snowflake acrylic white fresco paint through the stencil.


Next I added some words using layering-stencil---traveler also from Tim Holtz.


Next I cut the piece of card I wanted to use and stamped on stampers-anonymous-tim-holtz---evolution stamp and also used the stampers-anonymous-tim-holtz--newsprint--stamp. I stamped in potting soil archival ink.


Next I used thinlits-die-set-22pk---gearhead-by-tim-holtz to cut out the corner and also some cogs.


I added these to the card and layered up!

I do hope this card is appreciated! And I hope you can join us at countryview challenges by using a stencil and also joining our blog hop!

Big Hugs

Rachel x

Thursday, 3 December 2015

More scenes for Countryview Crafts

Good Morning all! Its my turn over at countryviewchallenges again this morning and here is the step by step of my make for you!


It cut first time - beautifully!


Next I inked it up using vintage photo and walnut stain DI.


Then I cut a piece of card to fit the back.


I cut some paper and used a circle mask and used broken china DI to create a sky.


I then used the outer part of the circle mask to cover the sky whilst I coloured the sun with mustard seed and carved pumpkin DI.


I then used some small woodland stamps from clarity


And there you have it! I think its pretty effective and very quick!

I hope you can join us at countryviewchallenges this month -  you never know - you might win the £20 voucher!

Big Hugs

Rachel xx

Tuesday, 1 December 2015

Make a Scene at Countryview Challenges

Good Morning lovelies! I hope you are well and happy! I can't believe its December today - where did the year go? To be honest I'm quite glad its gone fast.

Onto today - I have been lucky enough to chose the theme this month for countryviewchallenges and the theme is to make a scene... I don't mean fly off the handle - lol!!! I mean to make a scenic piece!
Here's my first make for this theme.


I have been using the theme to make a few Christmas cards - maybe you could do that!! I have a step by step for you this month too!


First I cut a landscape and placed it onto a piece of card - I also stuck on a moon mask.


Next I applied a cloud mask and stormy sky distress ink to the sky and built up the clouds.


I then removed the moon mask - and covered the sky and applied the blue distress ink to create the hills. I started at the bottom and worked up.


Next I stamped the trees.


Then added the diecut deer.


Then added glitter.


stamped the sentiment and finally added the cut down picture to a card.

I used lots of goodies from countryview crafts to make this card:


These are the main ones!

I hope you enjoyed my step by step - and I hope you'll join in our challenge this month - you could win a £20 voucher!

Hugs

Rachel xx


Thursday, 19 November 2015

More Blue for you!

Hello there! How are you? I hope you are all good and happy! Today I have my second post for Countryview challenges to remind you of their current challenge 'The colour Blue'. I have made another Christmas card and this time I got to play with the new Tim Holtz distress---paper-mosaic-kit. I really enjoyed it and would recommend the kit as a source of something a bit different!!! Here's what i did:


I created the background first using different shades of blue distress ink (chipped sapphire, salty ocean and weathered wood). In chipped Sapphire i went over the whole thing using Tim Holtz-ledger-script-stamp-set.. Then in watering can archival I stamped using tim-holtz-tree-line-stamp set


Next I added the deer cut  using an older die from Sizzix. First i had used the distress paper mosaic kit to make up the mosaics on a piece of card. I applied medium 1 - allowed it to dry then coloured ith with blue DI. Then I stuck on the blue paper pieces using medium 2 and finally after this was dry added medium 3 to the paper pieces - it gives them a relief not truely visible in this piece.


Here's a closer look! I also stamped the sentiment too.

I hope you have a great day!

Lots of love and hugs!!

rachel x

Sunday, 1 November 2015

The colour Blue at Country View Challenges

Good Morning lovelies! How are you this new day? I hope you are well! Today there is a new challenge starting over at countryviewchallenges. The theme this month is - the colour Blue chosen by the lovely doreen. I am in full Christmas mode with this theme as I love a bit of blue for Christmas! Here's a card I made:


To make this card I started by stamping tim-holtz-mini-weathered-winter-stamps in versa mark and heat setting using opaque white wow powder. Then I used various blue DI ( faded jeans, salty ocean, chipped sapphire, stormy sky) to complete the background.


Next up was to cut words using the sizzix-thinlits-die-set-16pk---holiday-words-2-script-by-tim-holtz and add these to the front and finally to complete with a large blue bow using ribbon from Creative expressions.

I hope you feel inspired to join in with us - you may be lucky enough to win a £20 voucher to spend at Coutryview Crafts! Thats got to be worth having!!! 

Have a great day!

I would like to enter this into:


Hugs

Rachel xx

Wednesday, 7 October 2015

More texture at Countryview Crafts

Good morning all! I have my second piece for countryviewchallenges this month to share with you today. The theme is to use texture and this time I have used diecuts from Tim Holtz and also some words and bits and bobs to make a scrapbook page. I used a photo from my run on sep 13th from Newcastle to Gateshead.


I used the following distress inks to create the background first - mustard seed, ripe persimmon, picked raspberry. I used this in conjunction with sizzix-thinlits-die-set--mixed-media that i had used to cut shapes and then used the shapes as a layering stencil - if that makes sense?  I then added the photo and more diecuts -scribbles--splat-by-tim-holtz and -adventure-words-block-by-tim-holtz.


Some close ups ...


Just to let you know we raised over £2000. Brilliant!!!!

I hope you can join us at countryviewchallenges this month!

Hugs

Rachel x

Thursday, 1 October 2015

Add some texture at Country view crafts

Hello Lovelies!!! Well its time for a new challenge at countryviewchallenges and this month Jennie has challenged us to add some texture. My first piece this month is a duo of mini canvasses for Penny's new bedroom - I've been decorating it after the re-wiring and the theme is under the sea. So I reached for my Tim dies and layering stencils and grunge paste and set to work playing!


They are both loved by my youngest daughter and thats good enough for me - but I hope you like them too!


On this one I used grungepaste through wildflower layering stencils - in fact I started the same with the other one too.  Then once dry my methods were different. For the blue one I painted with distress paints mermaid lagoon, salty ocean and blueprint sketch and left this to dry. Whilst drying I cut the diecuts using garden-greens-by-tim-holtz and -sand--sea-by-tim-holtz from card then coloured using distress inks and also added clear rock candy crackle. When the paint was dry I added wax to the wildflower and some blueprint sketch distress ink through the bubble stencil onto the canvas and the seahorse and also cut my letters - then I assembled the piece.


This one was made in a similar way except instead of using the distress paint I used black gesso to cover the canvas after having added all of the main parts of letters and seahorse - I also embossed the seahorse.. The main colour came from waxes. 

I hope that has wetted your appetite to join us in the challenge this month! You would be in with a chance of winning a £20 voucher to spend at countryviewcrafts.

Big hugs rachel xx


Saturday, 1 August 2015

In the Summertime at Country View Crafts

Hello Lovelies - well its the first of the month and time for a new challenge over at Countryview Crafts Challenges. This months challenge theme has been chosen by alison and has got me thinking about things bright and beautiful and floral. With this in mind I decided to use Paperartsy goodies all from countryviewcrafts to make a canvas. I already sent this to a good friend for her birthday - hope she liked it!!!


Here's the full canvas - its around 7 inches by 18 inches - so its quite large. I started by painting the background in fresco-finish-chalk-acrylics smurf blue. Next I started to add background layers using the fresco-finish-chalk-acrylics snowflake and eclectica-paperartsy-stencil- dotseclectica-paperartsy-stencil-elb-ps002 leaves. I added paperartsy-fresco-finish-chalk-acrylics-hey-pesto to the leaves once the white had dried.


Next I used grunge-paste through eclectica-paperartsy-stencil-elb-ps013 by Lin brown. and allowed this to dry. Then I used rubber-stamp-sheet-by-lin-brown---elb16 and rubber-stamp-sheet-by-lin-brown---elb15 to create the stems and flower heads.


I painted the leaves in the snowflake paint then added some hey pesto. The flower heads were done using paperartsy-fresco-finish-chalk-acrylics---tango. with touches of some red acrylic paint that I had to hand.


Finally I added the butterflies made using sizzix-bigz-die-wtexture-fades---butterfly-duo-by-tim-holtz. I swiped over the surface with  brown potting soil archival ink then added the orange colour using distress pens.

I would like to enter this into the paperartsy topic14-flowerschallenge

I loved making this and I hope you agree its very summery! Please join us at countryviewchallenges where the prize is a fabulous £20 to spend in store! 

Big Hugs to you!

Rachel xx

Wednesday, 15 July 2015

On your Travels at Country View Crafts

Good morning Lovelies!!! I hope you are well! Woo Hoo - finally I get to reveal that I have joined the design team at Countryview Crafts! I can hardly believe my luck - not only is it my favourite shop - I also get to be teamies with an uber talented bunch who's work I have admired for a very long time now! Thanks Chris for the chance - I will do my very best! I hope you will enjoy joining me on this particular part of my crafting journey.

So the theme for this months challenge is 'On your Travels' ... there's still a couple of weeks to join in and the randomly drawn winner of the challenge will receive £20 to spend in the shop - and trust me that won't be a hard task as Susan stocks so much wonderful crafty goodness ...and postage is free! There are also chances to win guest design spots on the blog too. So what are you waiting for?

I have been playing with my file folders again and have made a journey file folder using lots of yummy Tim Holtz goodies. As soon as I saw the theme I thought of the Tim Time traveller stamp set which features inside this piece.


Here's the front of the folder - for the main folder I used distress stains and inks to create the colour - salty ocean, mermaid lagoon, cracked pistachio, mustard seed, tea dye, walnut stain and  hickory smoke. I also used the cityscapes stamps and classics-1-stamp-set. plus the remnant rubs special-delivery


Inside I decorated the file folder using the time-travelers-travellers-stamp-set. I created tags using distress paints (evergreen bough and cracked pistachio), layering-stencil---treadstraveler and mesh.


This is the next page and tag.


I also added chit-chat stickers.


I will get more organised next time and produce a more detailed step by step post! But if you have any questions please ask!

I would like to enter my file folder into the stampsandstencils happy-holidays challenge..

Thats all for today! Thanks for visiting and I'll be around to check out what you have been up to later.

Hugs

Rachel x