
I've made a card for the latest challenge at Little Claire - they have two prizes this month - a beautiful bunch of goodies or a GDT spot. I'm crossing everything in the hope of a GDT spot - the stamps are lovely and I would really love to work with them ..... and alongside the lovely diane again! Anyway - here's my make - using the changing tree and education stamp sets - I made a card for my Rainbow helper Alice who has been sitting her A levels this summer.

I made a bright distress ink background using mustard seed, ripe persimmon and spiced marmalade.
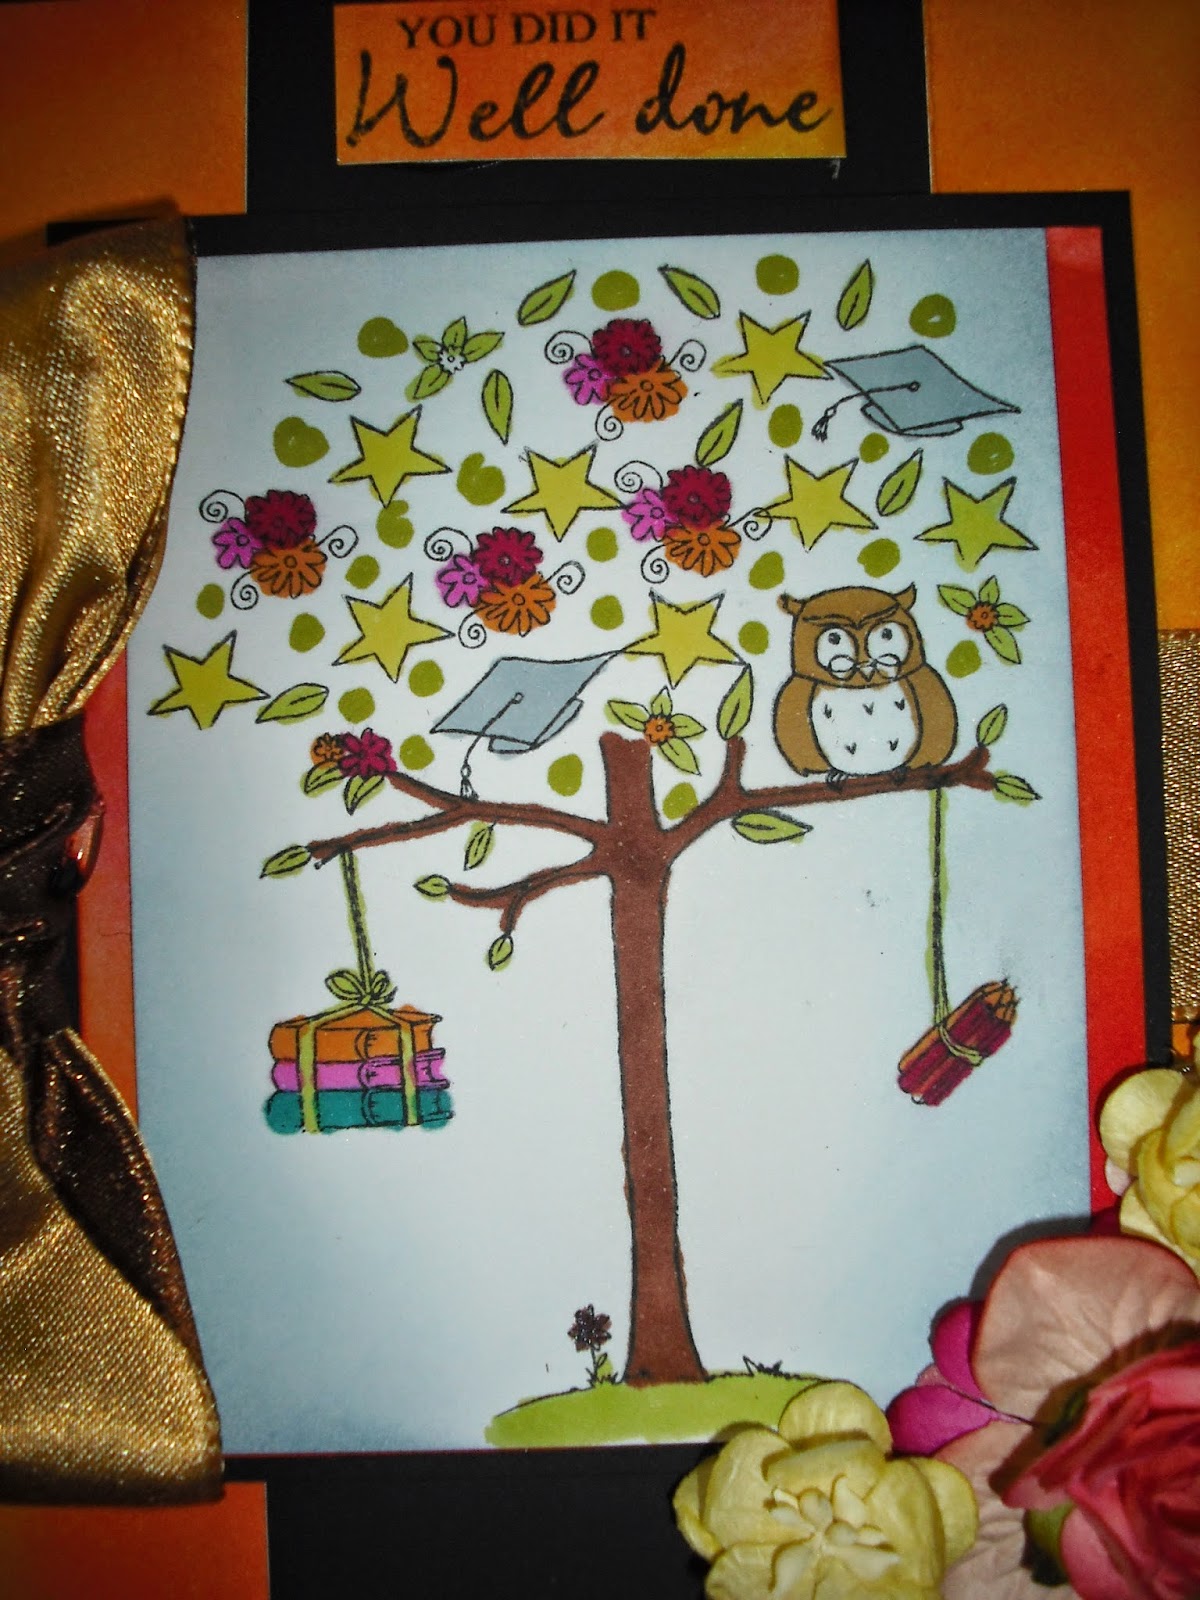
I stamped the tree image and many other of the smaller images to complete the tree. The owl had to be in there - Alice's mum is Brown Owl for the brownies. The images were coloured using spectrum noir pens. I also added some dots of pen to fill the tree out a little.

I added some flowers from Sweet Lilac.
I would like to enter this card into the following challenges
Little Clairelittleclairesdesigns - Sketch plus bright
Now I have a little cloud tutorial for you - its not brilliant but I've tried to get across to you what i do.
Step 1 - you need - a clarity cloud stencil, card, stencil brush and blue ink/pastel. I've showed this using faded jeans but you can use most blues - I often use a lighter one but this one shows up better for the camera. The card is up to you - I use the reverse of centura pearl for most things.
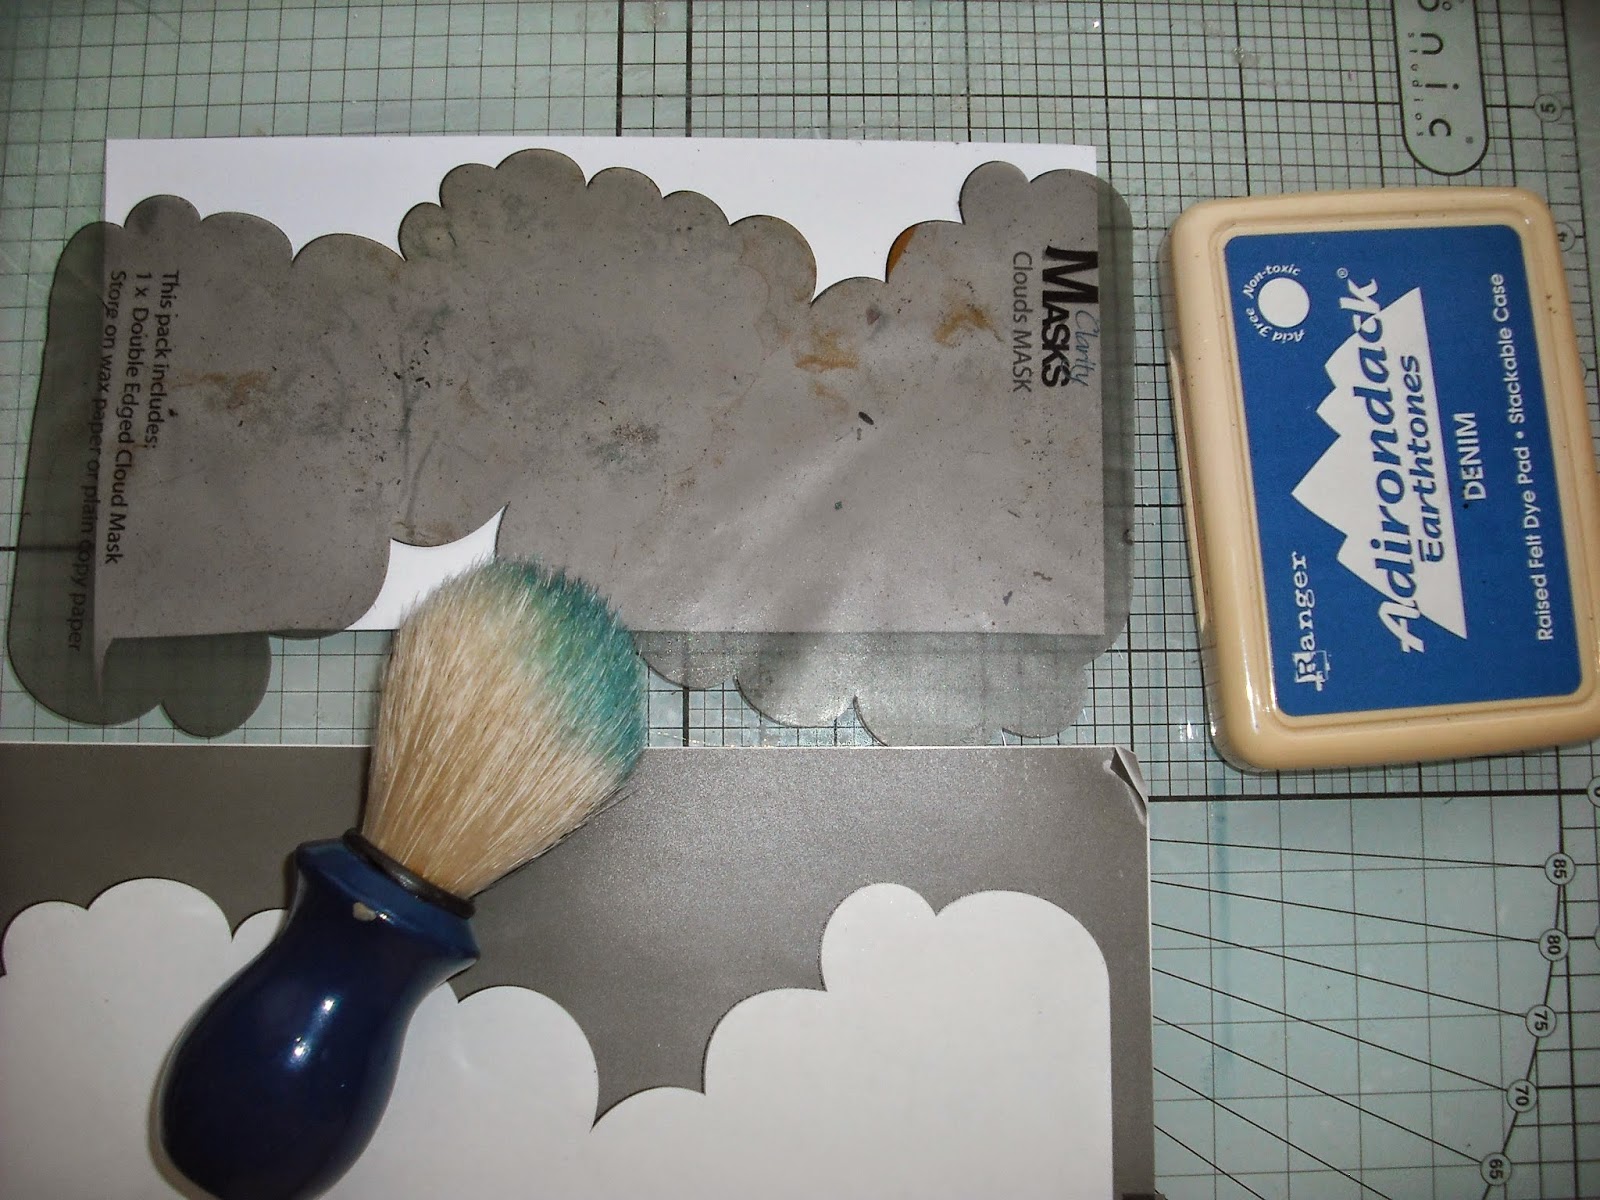
 Step 2: I lay the stencil over the card and then lightly brush the brush into the ink or pastel. Next I run this lightly over the stencil. Next I start to move the stencil down the page repeating the steps. I try not to have the stencil in the same position but shift it along so that different shapes build up as you can see in the next picture.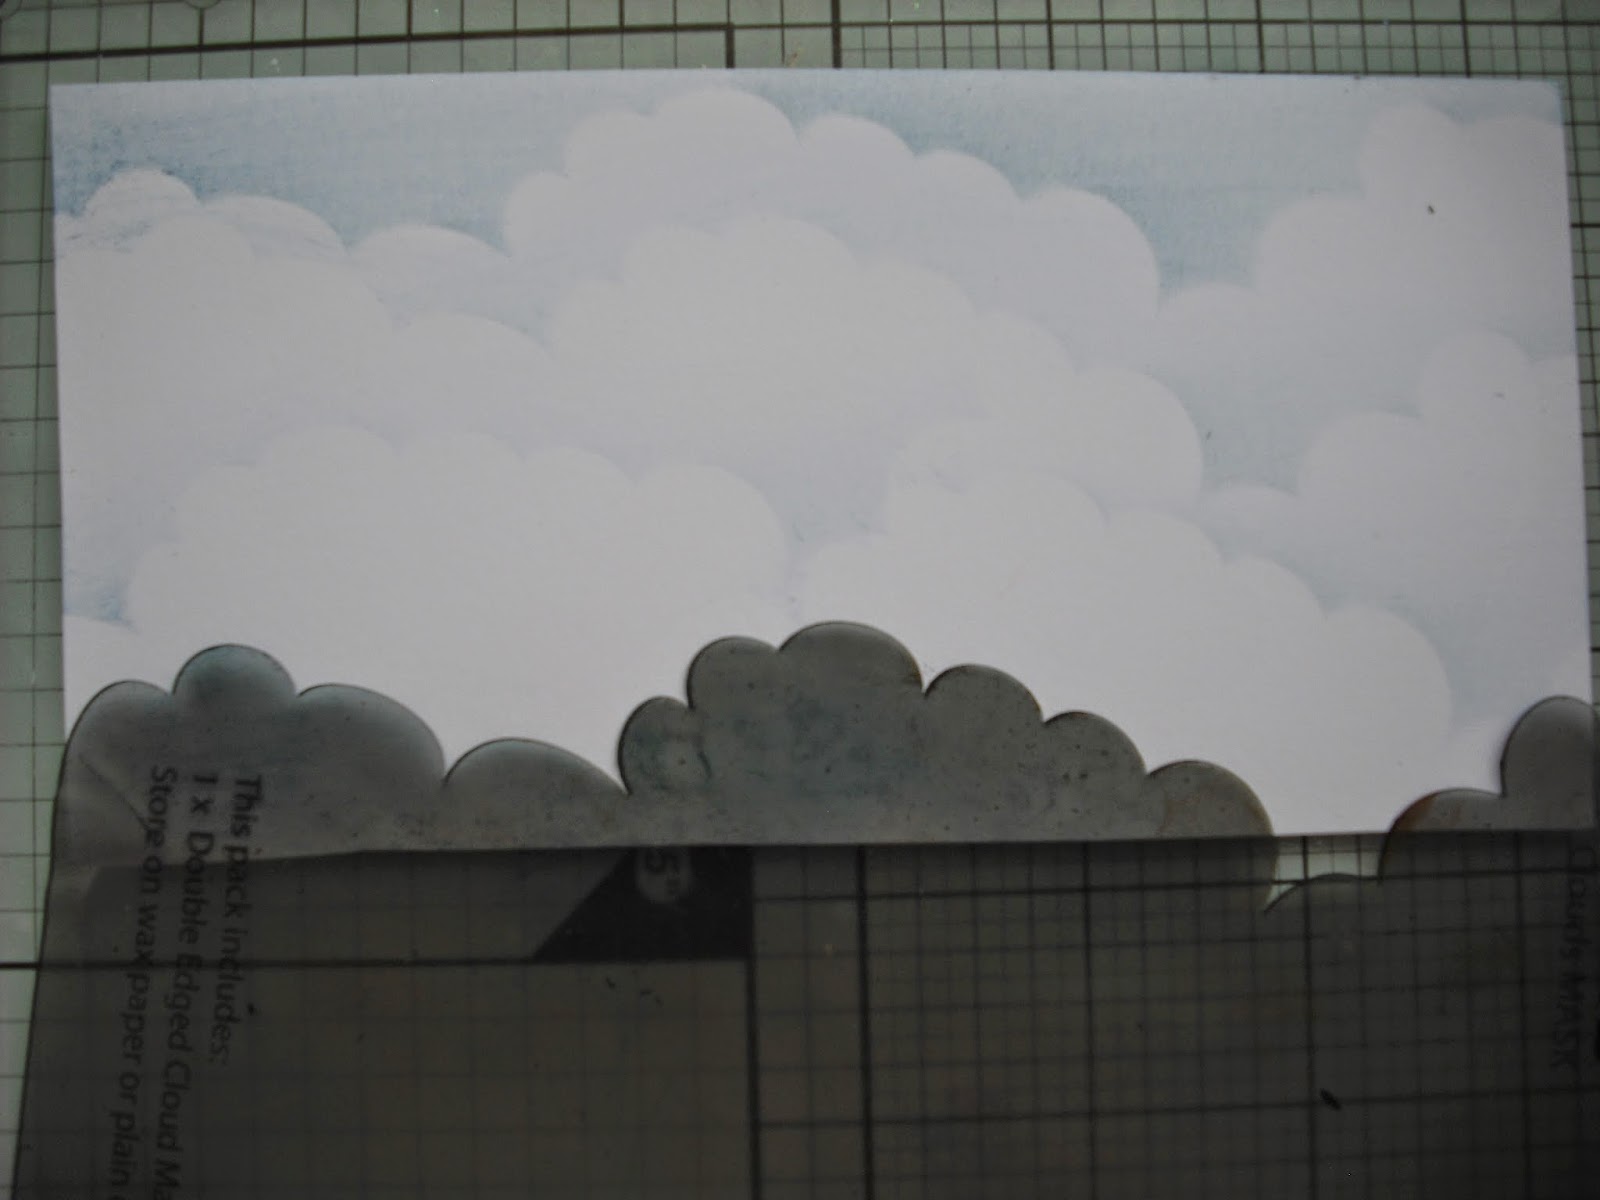
Finally remove the stencil to reveal the whole effect.

There's nothing magical or difficult about this technique - its just a case of having the stencil, some ink or pastel and a brush. It takes a matter of minutes to do. I do tend to put the sky in last on scenes - and mask off the foreground - I may add things to the sky afterwards but the main sky is done usually for me towards the end of a scene make.
I hope that is useful!
Big Hugs and thanks for dropping by! Rachel xx
